How to Run a Basic Web Server With Google Chrome
Did you know that you can set up a web server using Google Chrome? Yes, the same browser you use to surf the internet can also host your website. It’s a simple and convenient way to get started with web development. In this tutorial, I will guide you through the process of setting up a basic web server with Google Chrome, so you can start hosting your own website in no time.
Key Takeaways:
- Google Chrome can be used as a web server to host your website.
- The Chrome Web Server extension turns your browser into a server.
- You can create a folder for your web server on your local computer.
- Specify the web directory and start the server using the Chrome Web Server app.
- Access your website through the specified URL or the server’s IP address.
Step 1: Create a Folder for Your Web Server
To set up a basic web server with Google Chrome, you’ll need to create a folder on your local computer. This folder will serve as the main directory for your website files. You can name the folder anything you like, but for simplicity, let’s call it “ChromeServer”.
To create the folder, follow these steps:
- Open your file explorer or finder.
- Navigate to the location where you want to create the folder.
- Right-click on an empty space in the folder and select “New Folder” from the context menu.
- Name the folder “ChromeServer” and press Enter.
Now you have a dedicated folder for your web server where you can store all your website files.
Step 1 Summary
| Action | Instruction |
|---|---|
| Open file explorer or finder | Click on the file explorer or finder icon on your computer. |
| Navigate to desired location | Go to the directory where you want to create the folder. |
| Create a new folder | Right-click on an empty space, select “New Folder,” and name it “ChromeServer”. |
Step 2: Create Your Website Files
Now that we have our main folder set up, let’s dive into creating the files for your website. Inside the ChromeServer folder, create a subfolder with the domain name you want for your website. For example, if you want your website to be mywebsite.com, create a folder called “mywebsite.com”. This will help organize your files and make it easier to manage your website.
Within this folder, we’ll create an HTML file called “index.html”. This file will serve as the main page of your website, the first thing visitors will see when they navigate to your domain. It’s like the front door to your digital space. You can add any content you like to this file, whether it’s text, images, videos, or even interactive elements like forms or buttons. The possibilities are endless!
To create the “index.html” file, simply right-click on the folder you created earlier (e.g., “mywebsite.com”) and select “New File” or “Create New File”. Rename the file to “index.html” and open it with a text editor or an HTML editor of your choice.
Now it’s time to unleash your creativity and start building your website. You can use HTML, CSS, and JavaScript to design and customize your site. Don’t worry if you’re new to web development – the learning curve may be steep at first, but with practice, you’ll become more comfortable and confident in creating your dream website.
Feel free to experiment with different layouts, colors, fonts, and styles to make your website visually appealing and engaging for your visitors. Remember, your website represents you or your business, so make sure it reflects your unique personality or brand identity.
Need inspiration? You can explore websites similar to the one you’re envisioning and take notes on what you like or dislike. This can help you brainstorm ideas and bring your vision to life. And don’t forget, there are plenty of online resources and tutorials available to guide you along the way.
Example Structure of index.html:
- <!DOCTYPE html>
- <html lang=”en”>
- <head>
- <meta charset=”UTF-8″>
- <title>My Website</title>
- </head>
- <body>
- <header>
- <h1>Welcome to My Website!</h1>
- </header>
- <main>
- <p>This is the main content of my website.</p>
- </main>
- <footer>
- <p>© 2022 My Website. All rights reserved.</p>
- </footer>
- </body>
- </html>

| HTML Tags | Function |
|---|---|
| <!DOCTYPE html> | Declares the document type and HTML version |
| <html lang=”en”> | Defines the HTML document and specifies the language |
| <head> | Contains meta-information about the HTML document |
| <meta charset=”UTF-8″> | Defines the character encoding for the document (UTF-8 supports all characters) |
| <title>My Website</title> | Sets the title that appears in the browser tab |
| <body> | Contains the visible content of the webpage |
| <header> | Represents the introductory content of a webpage or a section |
| <h1>Welcome to My Website!</h1> | Displays a heading to indicate the name or purpose of the website |
| <main> | Defines the main content of the webpage |
| <p>This is the main content of my website.</p> | Represents a paragraph of text |
| <footer> | Defines the footer of a webpage or a section |
| <p>© 2022 My Website. All rights reserved.</p> | Displays a paragraph with copyright information |
Step 3: Install the Chrome Web Server Extension
Installing the Chrome Web Server extension is an essential step in setting up your basic web server. Follow these simple instructions to get started:
- Open the Chrome Web Store in your browser.
- Search for the “Chrome Web Server” extension.
- Click on the “Add to Chrome” button to begin the installation process.
Once the installation is complete, you can easily access the web server from your list of Chrome Apps. Look for the “Web Server” app and click on it to launch.
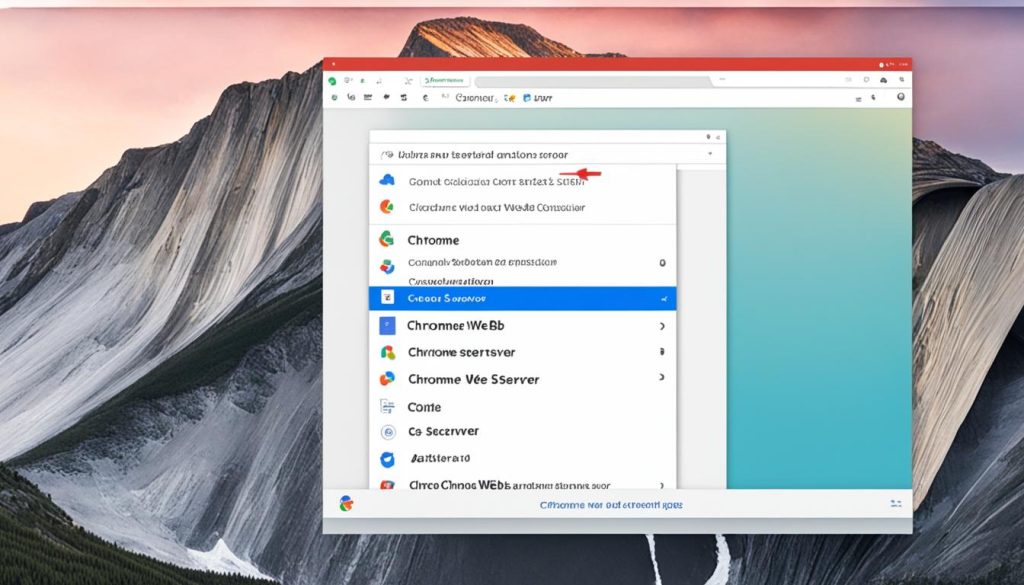
With the Chrome Web Server extension installed, you’re now ready to configure and start your web server. Move on to the next step to continue the process.
Note:
If you encounter any issues during the installation process, make sure to check your internet connection and ensure that you are using the latest version of Google Chrome.
Step 4: Configure and Start the Web Server
Once you have launched the Web Server app, you will see a window with various options. The first step is to configure the web directory where your website files are stored. To do this, click the “CHOOSE FOLDER” button and select the folder you created in Step 2.
Take a moment to review the other options and make any necessary changes according to your requirements. This is your opportunity to customize the server settings to suit your needs.
When you are satisfied with the configuration, simply click the “Start” button to initiate the web server. It will now be up and running, ready to serve your website to visitors. To access your website, you can either visit the specified URL or use the server’s IP address.
FAQ
Can I run a web server using Google Chrome?
What is the Chrome Web Server extension?
Is the Chrome Web Server extension compatible with all operating systems?
How do I install the Chrome Web Server extension?
What is the first step in setting up a basic web server with Google Chrome?
How do I specify the web directory for my website files?
How do I access my website after starting the web server?
- How Strategic SEO Drove Growth for a CPAP E-commerce Brand - July 24, 2025
- Top 3 SEO Companies in Toronto: An Analytical Comparison - July 23, 2025
- SEO for Entry Door Services - April 24, 2025








Post Comment
You must be logged in to post a comment.