How to configure DNS for your domain name on GoDaddy
Did you know that a staggering 80% of website owners struggle with configuring DNS for their domain names?
Managing your Domain Name System (DNS) settings is crucial for the proper functioning of your website. Whether you want to connect your domain to an IP address, set up email addresses, or verify domain ownership, understanding how to configure DNS is essential.
In this article, I will guide you through the process of configuring DNS for your domain name on GoDaddy, one of the most popular domain registrars and web hosting providers. By the end, you’ll have the knowledge and confidence to manage your DNS settings effectively.
Key Takeaways:
- Configuring DNS is crucial for the proper functioning of your website.
- GoDaddy provides a user-friendly interface for managing DNS settings.
- Understanding different DNS record types is essential.
- You can manage DNS for your GoDaddy domain even if it’s not registered with GoDaddy.
- Ensure a seamless integration between your domain and web hosting by following the step-by-step process provided by GoDaddy.
Where to Manage DNS Settings on GoDaddy
When it comes to managing your DNS settings on GoDaddy, the process will depend on where your nameservers are pointing. If your domain is registered with GoDaddy and is using their nameservers, you can conveniently manage your DNS settings directly in your GoDaddy account. Alternatively, if your domain is not registered with GoDaddy but is using their nameservers due to hosting your website with them or utilizing DNS Hosting, you can still manage your DNS settings through your GoDaddy account. However, if your domain is registered with another company and is not utilizing GoDaddy’s nameservers, you will need to manage your DNS settings with your DNS or website hosting provider.
Managing your DNS settings on GoDaddy is easy and straightforward. With a user-friendly interface, you can access the DNS management section in your GoDaddy account to add, edit, or delete various DNS records such as A records, subdomains, CNAMEs, MX records, TXT records, SPF records, and NS records. These records serve specific purposes, like connecting your domain to an IP address, managing email addresses, and verifying domain ownership, among others.
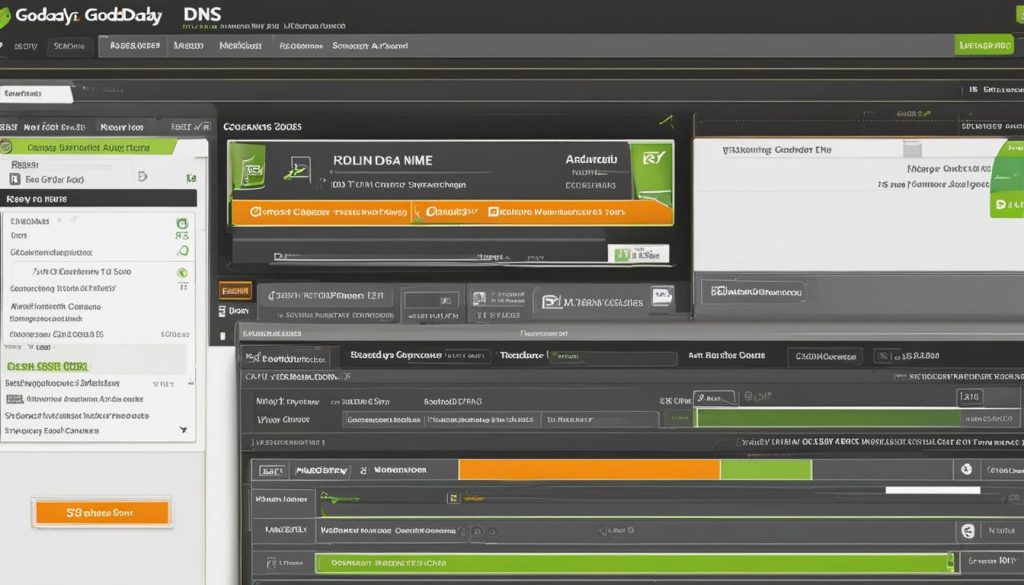
Here is an example of how the DNS management section on GoDaddy looks like:
| Record Type | Purpose |
|---|---|
| A Record | Connects your domain to an IP address |
| Subdomains | Allows you to create subdomains for your domain |
| CNAME | Points one domain or subdomain to another domain |
| MX Record | Manages email addresses for your domain |
| TXT Record | Verifies domain ownership and provides additional information |
| SPF Record | Helps prevent email spoofing and phishing |
| NS Record | Specifies the authoritative nameservers for your domain |
By understanding where your nameservers are pointing and utilizing the DNS management capabilities in your GoDaddy account, you can easily configure your DNS settings to ensure optimal performance and functionality for your domain name.
Adding, Editing, and Deleting DNS Records on GoDaddy
To configure the DNS records for your domain on GoDaddy, follow these simple steps:
- Log in to your GoDaddy account.
- Go to the DNS management section.
- Once in the DNS management section, you will see options to add, edit, and delete different types of DNS records.
- Choose the type of DNS record you want to add, edit, or delete.
- Enter the necessary information for the DNS record. This may include the record type, hostname, and value.
- Click on the “Save” or “Update” button to apply the changes.
Types of DNS Records:
Here are some of the common types of DNS records you can manage on GoDaddy:
| Record Type | Description |
|---|---|
| A | Connects your domain to an IP address |
| CNAME | Points to another domain name or URL address |
| MX | Manages email addresses |
| TXT | Verifies domain ownership |
| NS | Specifies the authoritative name servers for the domain |
By adding, editing, or deleting the appropriate DNS records, you can effectively manage your domain’s DNS configuration on GoDaddy.

Continue reading: Section 4 – DNS Hosting on GoDaddy for Non-GoDaddy Domains.
DNS Hosting on GoDaddy for Non-GoDaddy Domains
If you have a domain that is not registered with GoDaddy but still want to take advantage of their DNS management, you can use DNS hosting to create a DNS zone file for your non-GoDaddy domain. This enables you to directly add, edit, and delete DNS records within your GoDaddy account. To activate the zone file, you need to update the nameservers on your domain registration to the pair of nameservers provided by GoDaddy. Once the nameservers are updated, your zone file will become active in your GoDaddy account, allowing you to effectively manage your DNS settings.
With DNS hosting on GoDaddy, you have the flexibility to manage your DNS records conveniently and efficiently. You can easily add new records, edit existing ones, or remove unnecessary records, all within the intuitive interface of your GoDaddy account. Whether you need to point your domain to a new IP address, create subdomains, or manage email addresses, GoDaddy provides a user-friendly platform for total control over your DNS settings.
Pointing Your Domain to Web Hosting with GoDaddy
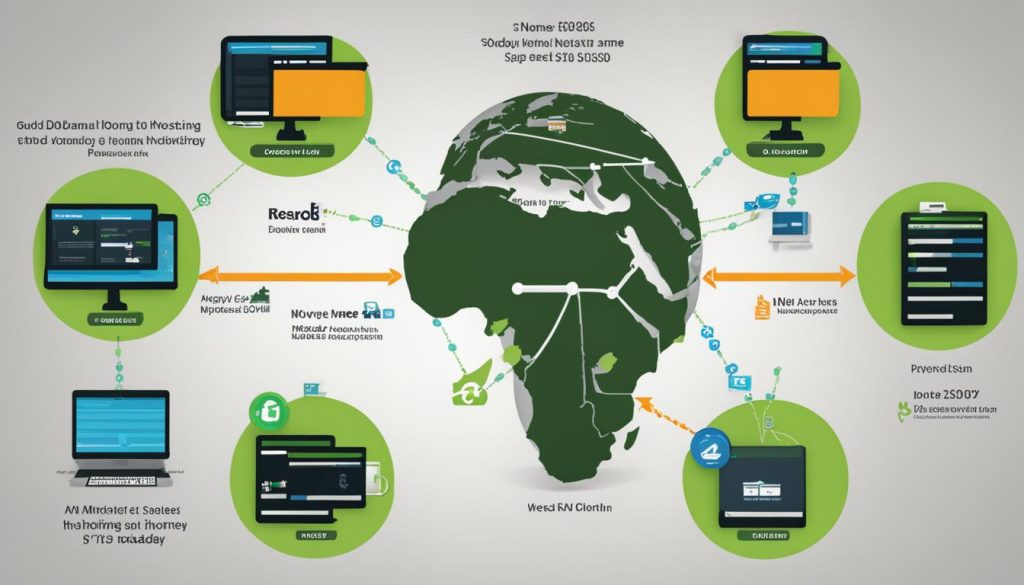
If you use GoDaddy for your web hosting, your domain name will automatically work with your hosting account. However, if you use a different web hosting provider, you need to point your domain to your web hosting provider by either configuring DNS settings through an A record or changing your nameservers.
- Configuring DNS settings with an A record requires an IP address to connect your domain to your website.
- Changing the nameservers to your web hosting provider allows for automatic configuration of webmail, subdomains, and other features.
It’s important to follow the step-by-step process provided by GoDaddy to ensure a seamless integration between your domain and web hosting.

| Option | Steps |
|---|---|
| Configuring DNS with an A record |
|
| Changing nameservers |
|
Additional Tips and Considerations
When it comes to GoDaddy DNS management, there are some additional tips and considerations that can further enhance your experience. One option to explore is the Premium DNS offering by GoDaddy. This advanced feature provides you with more options and control over your DNS settings, allowing you to tailor them to your specific needs.
If you decide that you no longer want to manage your DNS with GoDaddy, you can delete your domain from DNS Hosting. However, keep in mind that you will need to change your nameservers at your new DNS provider to ensure a seamless transition. This will ensure that your domain continues to function properly and all DNS settings remain intact.
For added security, it is highly recommended to set up 2-step verification for your GoDaddy account and domains. This extra layer of protection helps safeguard your DNS settings and domain information from unauthorized access. It’s a simple yet effective way to enhance the security of your online presence.
In conclusion, GoDaddy offers a comprehensive DNS management solution with a range of user-friendly tools and support. Whether you are configuring DNS settings, exploring advanced options, or prioritizing security, GoDaddy has you covered. With their services, you can easily and confidently manage your DNS records and ensure a smooth and optimized experience for your domain name.
FAQ
How do I configure DNS for my domain name on GoDaddy?
Where can I manage DNS settings on GoDaddy?
How do I add, edit, or delete DNS records on GoDaddy?
Can I use GoDaddy’s DNS management for non-GoDaddy domains?
How do I point my domain to web hosting with GoDaddy?
Are there any additional tips or considerations for managing DNS on GoDaddy?
- How Strategic SEO Drove Growth for a CPAP E-commerce Brand - July 24, 2025
- Top 3 SEO Companies in Toronto: An Analytical Comparison - July 23, 2025
- SEO for Entry Door Services - April 24, 2025


Post Comment
You must be logged in to post a comment.