How to Change Your DNS Server on Windows 10 and Mac
Did you know that changing your DNS server can have a significant impact on your online privacy, security, and browsing speed? It’s true! By simply adjusting your DNS settings, you can enhance your internet experience and gain access to blocked content. In this comprehensive guide, I’ll walk you through the step-by-step process of changing your DNS server on both Windows 10 and Mac computers.
Key Takeaways:
- Changing your DNS server can improve online privacy, security, and browsing speed.
- Access blocked content by changing your DNS settings.
- Follow the step-by-step instructions to change DNS settings on Windows 10 and Mac.
- Consider using popular third-party DNS addresses like Google Public DNS, Cloudflare, or OpenDNS.
- Be aware of DNS attacks and the importance of securing your DNS server.
Changing DNS Settings on Windows 10
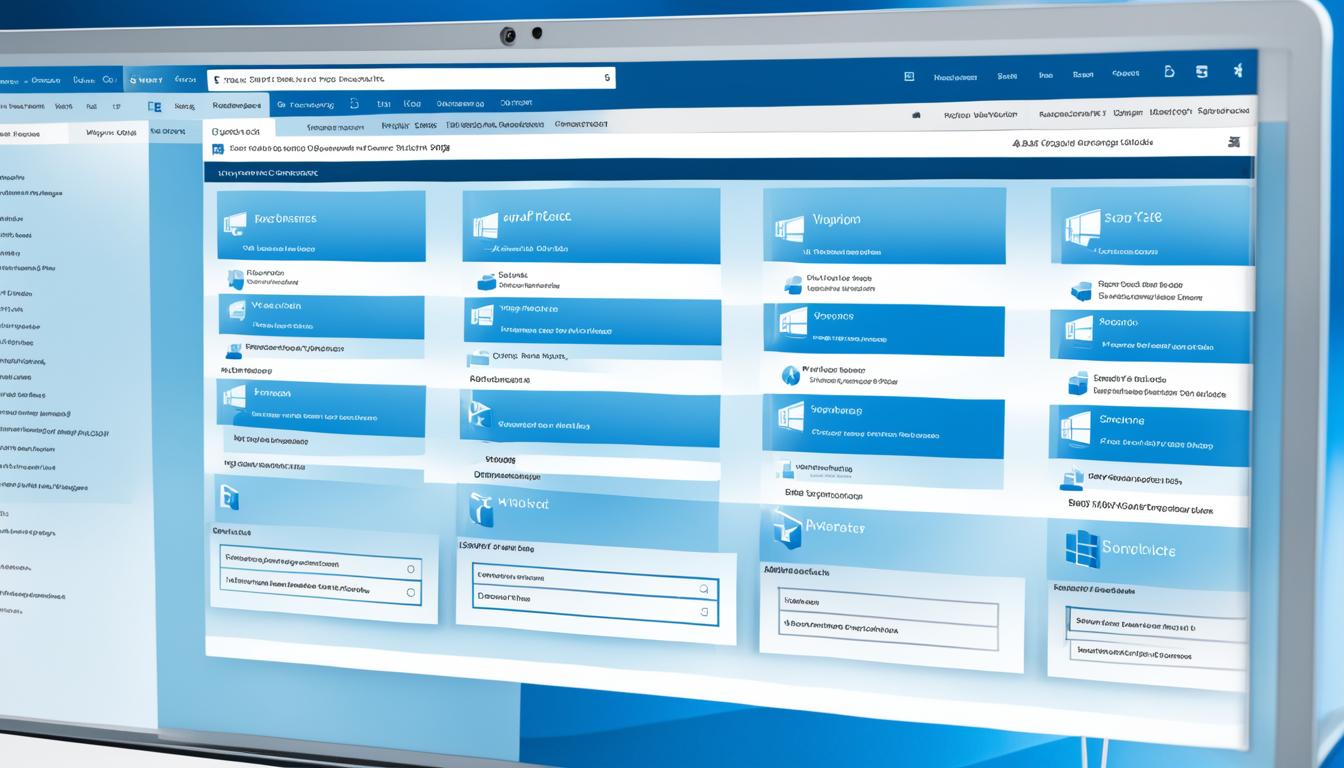
If you want to change the DNS server on your Windows 10 computer, follow these simple steps:
- Open the Start menu and click on Settings.
- In the Settings window, click on Network & Internet.
- On the left panel, select Change Adapter Options.
- Right-click on the desired connection, such as Wi-Fi or Ethernet, and choose Properties.
- A new window will appear. Scroll down and find Internet Protocol Version 4 (TCP/IPv4). Select it and click on Properties.
- Another window will open. Make sure the option Use the following DNS server addresses is selected.
- Now, enter the new DNS server addresses. You can use any preferred DNS server of your choice.
- Click OK to save the changes.
That’s it! You have successfully changed the DNS server on your Windows 10 computer. Enjoy improved browsing speed and security.
Changing DNS settings on Windows 10 is a simple process that can bring various benefits, such as faster browsing speed and improved online security. By following the instructions above, you can configure DNS servers on your Windows 10 computer effortlessly.
Changing DNS Settings on Mac
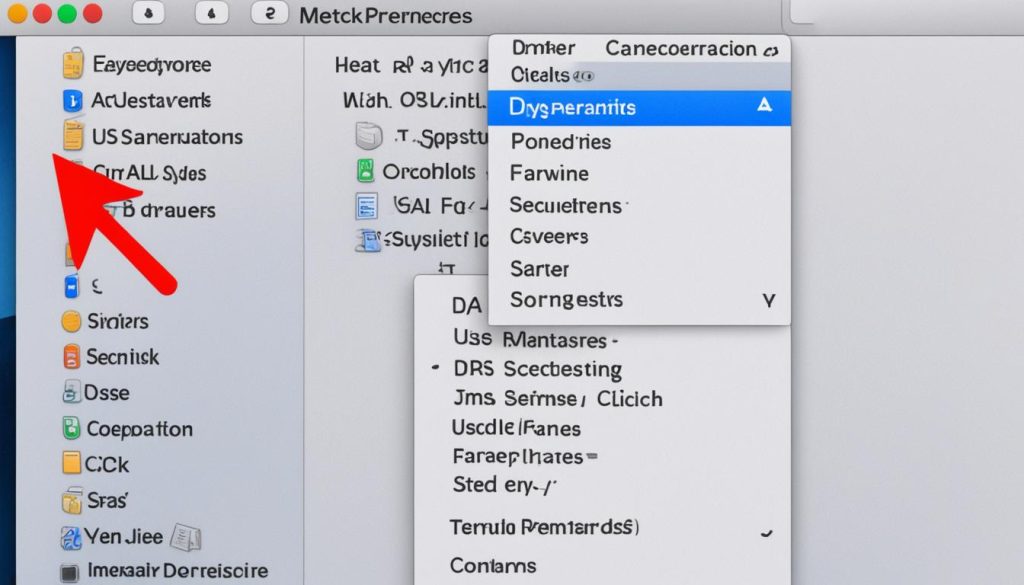
To change the DNS server on your Mac, follow these simple steps:
- Open System Preferences by clicking on the Apple menu in the top-left corner of your screen.
- Select “Network” from the System Preferences menu.
- In the Network window, choose the network connection for which you want to change the DNS settings. It could be Wi-Fi, Ethernet, or any other connected network.
- Click on the “Advanced” button.
- In the Advanced window, navigate to the “DNS” tab.
- Click on the plus sign (+) at the bottom-left corner to add a new DNS server.
- Enter the new DNS address in the provided field.
- Click “OK” to save the changes.
- Finally, click the “Apply” button to apply the new DNS settings.
Once you’ve completed these steps, your Mac will use the new DNS server for the selected network connection. This allows you to customize your DNS configuration and potentially improve your browsing experience.
If you’re not sure which DNS server to use, you can consider popular options such as Google Public DNS (8.8.8.8 and 8.8.4.4) or Cloudflare (1.1.1.1 and 1.0.0.1). These DNS providers offer reliable performance and enhanced security features.
| DNS Provider | DNS Server Addresses |
|---|---|
| Google Public DNS | 8.8.8.8, 8.8.4.4 |
| Cloudflare | 1.1.1.1, 1.0.0.1 |
| OpenDNS | 208.67.222.123, 208.67.220.123 |
Using a third-party DNS server can help improve your internet speed and security. Ensure that you choose a reputable DNS provider and regularly update your DNS settings for optimal performance.
Best Third-Party DNS Addresses
If you’re looking to enhance your internet browsing experience with faster speeds and improved privacy features, consider using a third-party DNS server. Here are some of the top options:
- Google Public DNS (8.8.8.8 and 8.8.4.4): Google Public DNS is known for its reliability and speed. By switching to these DNS addresses, you can enjoy faster website loading times and a more secure online experience.
- Cloudflare (1.1.1.1 and 1.0.0.1): Cloudflare offers a secure and privacy-focused DNS service. By using Cloudflare’s DNS addresses, you can protect your online activities from prying eyes and enjoy enhanced browsing speed.
- OpenDNS (208.67.222.123 and 208.67.220.123): OpenDNS is a popular choice among users looking for customizable DNS options. With OpenDNS, you can block unwanted content, increase security, and improve overall network performance.
Comparing Third-Party DNS Servers
| DNS Provider | DNS Addresses | Features |
|---|---|---|
| Google Public DNS | 8.8.8.8 8.8.4.4 |
Faster browsing speed Enhanced security |
| Cloudflare | 1.1.1.1 1.0.0.1 |
Privacy-focused Improved website loading times |
| OpenDNS | 208.67.222.123 208.67.220.123 |
Customizable options Content filtering capabilities |
By using any of these reliable third-party DNS servers, you can optimize your internet browsing experience and enjoy the benefits of faster speeds, improved privacy, and enhanced security.
DNS Server Benefits and Considerations
When it comes to improving your browsing speed and online experience, changing your DNS server can make a significant difference. By switching to a faster and more efficient DNS server, you can enjoy faster website loading times and a smoother browsing experience. This is especially beneficial for websites with a large number of resources or heavy graphics.
Aside from improved browsing speed, changing your DNS server can also provide additional security features. Some DNS servers have built-in filtering and blocking capabilities, helping to protect against malware, phishing attempts, and other online threats. By using a reliable and secure DNS server, you can enhance your online privacy and reduce the risk of falling victim to cyber attacks.
Another advantage of changing your DNS server is the ability to access blocked content. Certain websites or online services may be blocked in your region due to geographical restrictions or government censorship. By swapping to a DNS server that bypasses these restrictions, you can enjoy unrestricted access to the content you want.
However, it’s important to consider some key factors when changing your DNS server. Privacy is a significant concern, as some DNS providers may collect and store user data for various purposes. To ensure your privacy is protected, choose a DNS provider that prioritizes user privacy and has a strong privacy policy in place.
Additionally, not all DNS servers are created equal. Some may have a higher uptime, faster response times, and better global coverage compared to others. It’s crucial to do thorough research and find a reputable DNS provider that can deliver on these crucial aspects. By selecting a reliable DNS server, you can maximize the benefits of improved browsing speed and security.

| Benefits of Changing DNS Server | Considerations for Changing DNS Server |
|---|---|
|
|
DNS Attacks and Security
When it comes to online security and privacy, protecting your DNS (Domain Name System) is crucial. DNS attacks, such as cache poisoning and DNS hijacking, can compromise your online security and put your sensitive information at risk. That’s why it’s essential to take the necessary steps to ensure DNS security and protect yourself from potential threats.
Switching to a secure DNS server is one effective way to mitigate the risks associated with DNS attacks. By using a reputable DNS provider that prioritizes security measures, you can safeguard your online activities from phishing attempts and malware attacks.
When selecting a secure DNS server, consider options like Google Public DNS, Cloudflare, or OpenDNS. These providers offer improved security features, such as encryption and enhanced filtering capabilities, to protect against potential threats.
By making the switch to a secure DNS server, you can not only enhance your online security but also preserve your privacy. Through reliable DNS protection, you can safely browse the internet, access your favorite websites, and protect your personal information from falling into the wrong hands.
| DNS Provider | Primary DNS Address | Secondary DNS Address |
|---|---|---|
| Google Public DNS | 8.8.8.8 | 8.8.4.4 |
| Cloudflare | 1.1.1.1 | 1.0.0.1 |
| OpenDNS | 208.67.222.123 | 208.67.220.123 |
By taking proactive measures to secure your DNS and protect your online security and privacy, you can browse the internet with confidence and enjoy a safer online experience.
Changing DNS Settings on a Router
If you want to change the DNS settings on your router, you can easily do so by accessing the router’s firmware. First, locate the Internet or network setup section in your router’s configuration. This might be under the advanced settings or network settings tab.
Once you’ve found the appropriate section, look for the DNS addresses option. Here, you can enter the preferred and alternate DNS server addresses. Make sure to obtain the correct DNS addresses from your DNS provider.
Once you’ve entered the DNS addresses, save or apply the new settings. This will update the DNS configuration for all devices connected to your router. Now, your devices will use the new DNS server for all their network requests, providing you with the desired benefits, such as improved speed, security, and access to blocked content.
FAQ
How do I change the DNS server on Windows 10?
How do I change the DNS server on Mac?
Which third-party DNS servers are recommended?
What are the benefits of changing DNS servers?
What should I consider when changing DNS servers?
How can DNS attacks impact online security?
How do I change DNS settings on a router?
- How Strategic SEO Drove Growth for a CPAP E-commerce Brand - July 24, 2025
- Top 3 SEO Companies in Toronto: An Analytical Comparison - July 23, 2025
- SEO for Entry Door Services - April 24, 2025







Post Comment
You must be logged in to post a comment.